Sony 70-200 f4 Review and How to Shoot Guide
The Sony 70-200 f4 G OSS lens is one of my favorite lenses. In this review and how to guide, you’ll learn why it earns its place in my camera bag and often gets brought along even on adventurous shoots where weight is of concern. In this article, I’ll review the lens and give you some tips on how to shoot with it.
We’ll talk about the benefits of this telephoto lens when it comes to compression, depth of field, lens flare, and how to position the subject in the frame. If you prefer video, be sure to check out how to shoot with the 70-200 on youtube:
You can also read my review on f-stoppers here.
Why I love the Sony 70-200 f4 lens
Let’s start with why I love the Sony 70-200 f4 lens. It’s a versatile lens that allows me to create interesting sun flare, bokeh, and compression effects. It allows me to bring a subject closer when I’m shooting from a distance.
The zoom range of 70-200 is great for a variety of images and as I’ll explain later it’s important to choose your focal length intentionally depending on the type of image you want to create.
This lens also creates great effects such as sun flare when shooting into the sun, bokeh when shooting at low apertures, and compression when shooting at long focal lengths.
In today’s world, anyone can make an image. The key to creating interesting images is making your images stand apart. The 70-200mm f 4 G is a lens I reach for when I want to create something a little different.
Because of the telephoto nature of the lens, it creates images that stand apart from the standard mid-range focal lengths that everyone is so familiar with.
Give it a try and you might just decide this is the perfect lens to mix things up in your photography portfolio.
You can buy the 70-200mm f4 lens here.
Quick Review of the Sony 70-200 f4
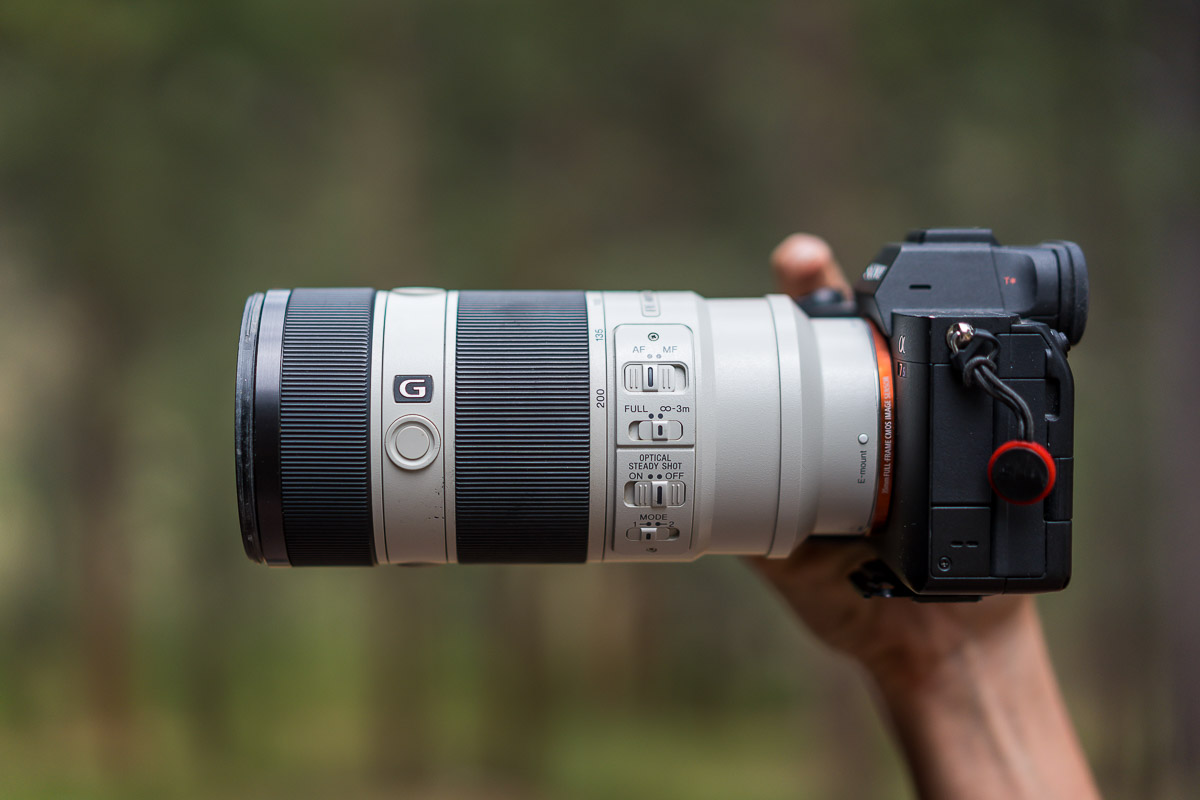
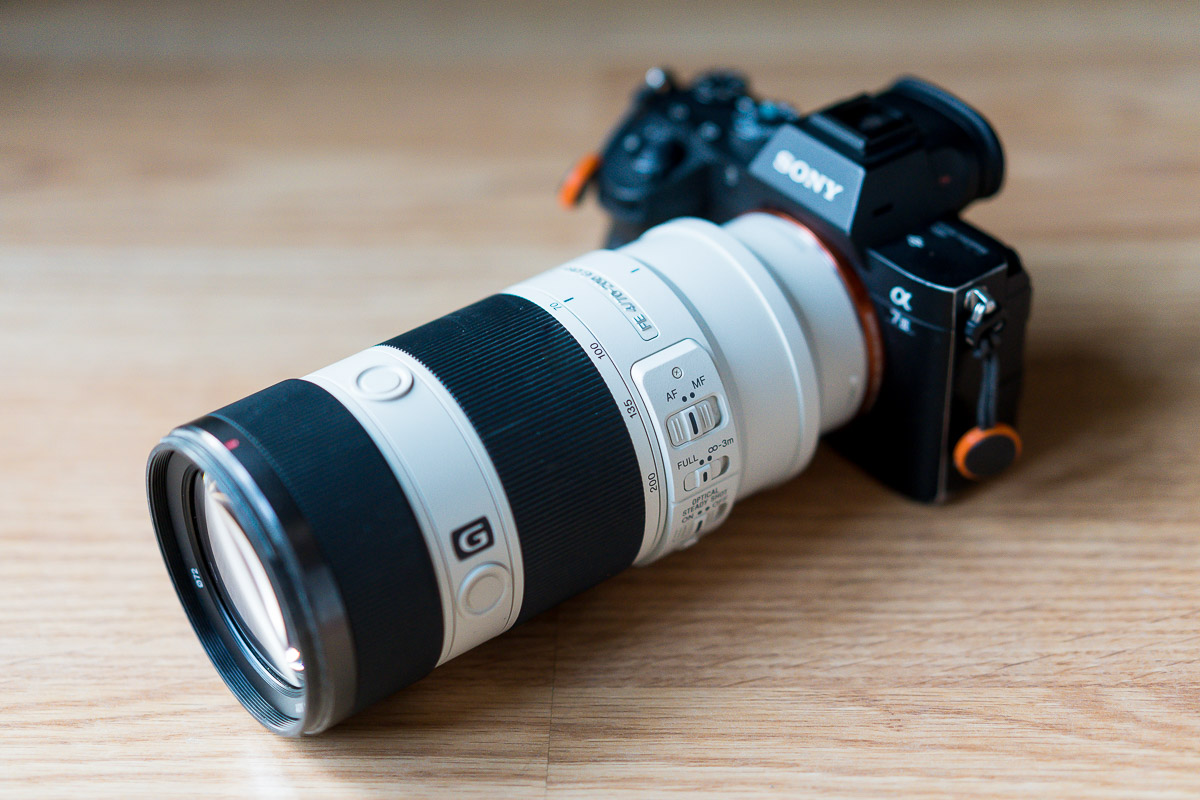
The Sony 70-200 f4 is a lightweight, high-quality, and affordable 70-200mm lens!
A compact telephoto lens with an awesome focal range covering 70-200 great for portraits at 85mm or achieving compression at 200mm. The f4 is nearly half the weight of the 2.8. (And less expensive too.)
This lens has standout sharpness, on par with most prime lenses. It even maintains this sharpness through the whole zoom range.
It achieves a unique and surprising lens flare when shooting slightly off access from the sun, especially at sunset. This backlit flare was one of my favorite unexpected characteristics of this lens.
Even with the flare, the image quality is still excellent.
Watch the technical lens review on youtube here:
Keep in mind that there are lots of 70-200mm lenses from Sony to consider:
Sony 70-200mm f 4 G OSS – My pick and the most affordable
Sony 70-200mm f 4 Macro G OSS II – More expensive but has Macro Capabilities
Sony 70-200mm f 2.8 G – More expensive but better in low light
Sony 70-200mm f 2.8 G II – Top of the line!
What you need to know about the Sony 70-200mm f4
Let’s dive into a few things you need to know about your Sony 70-200mm lens. I’ll talk through image stabilization, minimum focus distance, and whether the f4 is the right choice for you.
Image Stabilization
You’ll need to pay extra attention to your shutter speed when shooting with a 200mm focal length. At that focal length, you need to keep in mind that the motion of the lens can be detected in your images if you shoot at too slow of a shutter speed. You’ll want to keep your shutter speed at least at 1/200 to avoid shakiness resulting from the motion of the camera.
If this is of concern, you’ll want to be sure to turn on image stabilization. The lens has two modes allowing you some customization in that regard. Mode 1 allows for 2-axis image stabilization while Mode 2 allows for 1-axis image stabilization in case you want motion blur across one axis such as a pan to capture the movement of the subject.
Minimum focus distance
The minimum focus distance is the shortest distance at which a lens can focus. The minimum focus distance can vary based on the lens and focal length. Most 70-200 lenses, for example, have a minimum focus distance of usually 6 to 8 feet.
This may seem like a lot but with the telephoto range, it is still quite close to your subject. If you’re concerned about this, the new version of the f/4 lens from Sony has Macro capabilities. It can focus much closer than the older version.
Most lenses have a switch that will allow you to focus from the minimum focus distance to infinity or from 3 meters to infinity. Double-check that you’re in the correct range for the distance of the subject you’re trying to shoot.
Using the more limited range of focus is only helpful if you find the lens struggling to lock focus. This is rarely an issue and I rarely have a need to use this function.
You can also switch to manual focus to dial in exactly where you want the focus to be. I typically find that autofocus on this lens is highly accurate but occasionally you want the fine control that comes with manual focus action.
Aperture: Choosing the f4
When buying lenses it’s always important to find the right lens for your needs at the right price and the right size and weight. Just picking a lens with the Sony logo will guarantee a certain level of quality.
Often, we love the low aperture lenses but with a 70-200mm lens they can be quite heavy in both price and physical size. You might find that the f4 is suitable for your needs (I certainly do).
Let’s talk it through. The main reason f4 might not be sufficient is if you will be shooting in circumstances where you will need a faster lens.
For example, when you might not have enough light available to shoot at a fast enough shutter speed. In an indoor location, you might want a 2.8 version to handle the low light.
When I shoot in low light, I’ll switch to prime lenses with much faster apertures like f/1.4. I also find the focal length of 200mm to be more telephoto than I typically use indoors so having a fast aperture 70-200mm lens is a waste of money.
I also like the compact/lightweight nature of prime lenses when shooting indoors.
Another consideration of this lens is the optical steady shot. This internal lens image stabilization is great for getting sharp images at low shutter speeds but it won’t work with fast-moving subjects. If your shutter speed is too low for the subject’s movement, your image will likely be blurry regardless.
Optical steady shot is also great for shooting video handheld. It stabilizes some of the camera shake you might ordinarily see at longer focal lengths.
Not sure which aperture is best for you, check out our video on the Sony 70-200mm f4 vs. 2.8
Lens Hood
This 70-200mm f4 lens is best used with a lens hood. The lens hood helps keep the glare off the front lens element. The only time I don’t use the lens hood is when it’s a cloudy day and I want the smaller profile of using the lens without the lens hood.
Avoiding direct sun on the front element of the lens will give better image quality and contrast in your images. You’ll notice a quick improvement as soon as you shade the front element from the sun. Your images will quickly go from washed out to contrasty and vibrant.
Other Features
A few other things to know about this lens, it has a simple-to-use tripod collar if you want to balance nicely on a tripod.
It has all the features you might expect on G Lense, high-quality images, solid build quality, minimal chromatic aberration, focus hold button, moisture resistant, and plenty of sharpness.
My favorite feature of all is how compact and lightweight this lens is for the features it offers.
How to improve your photos with the 70-200 mm lens
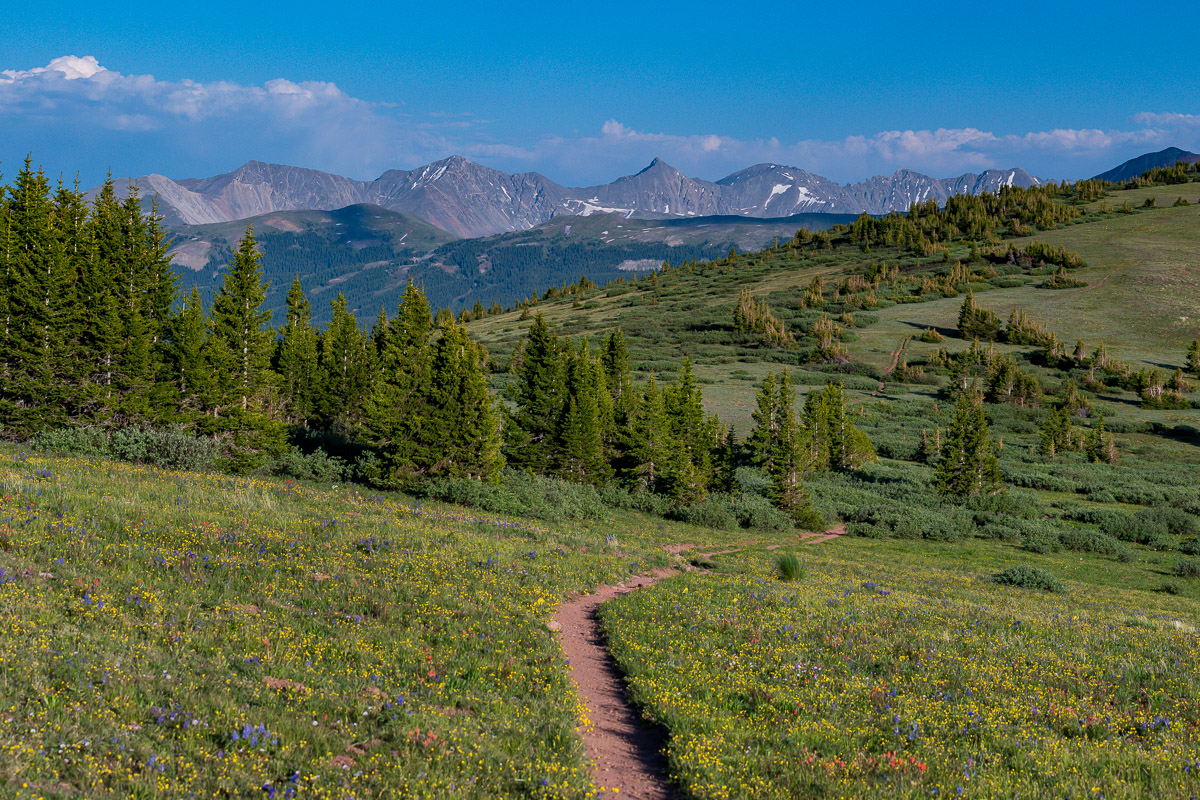
Using Compression
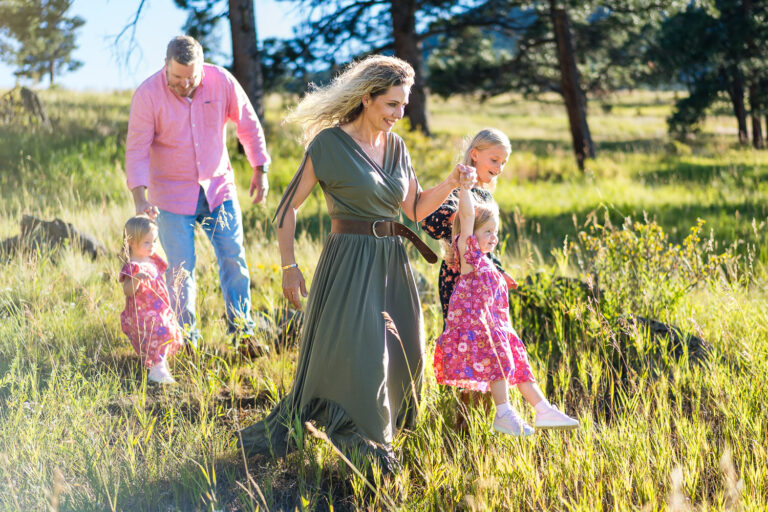
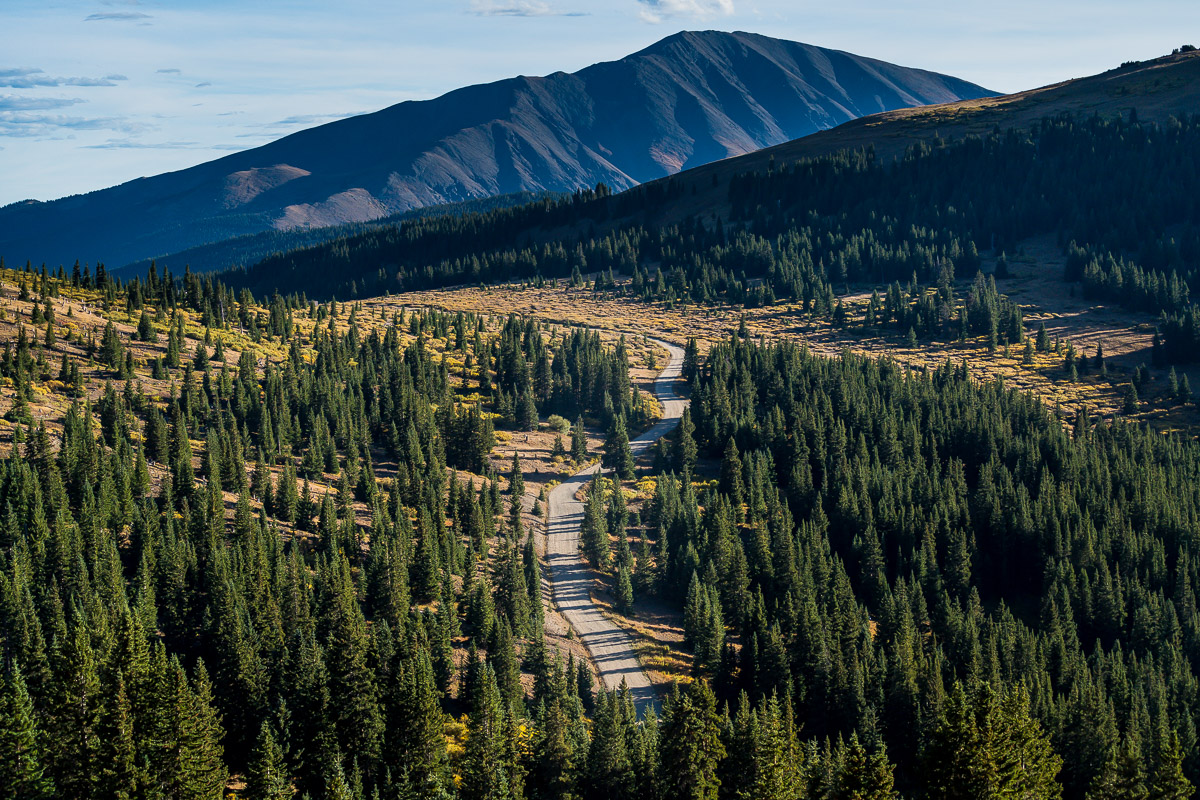
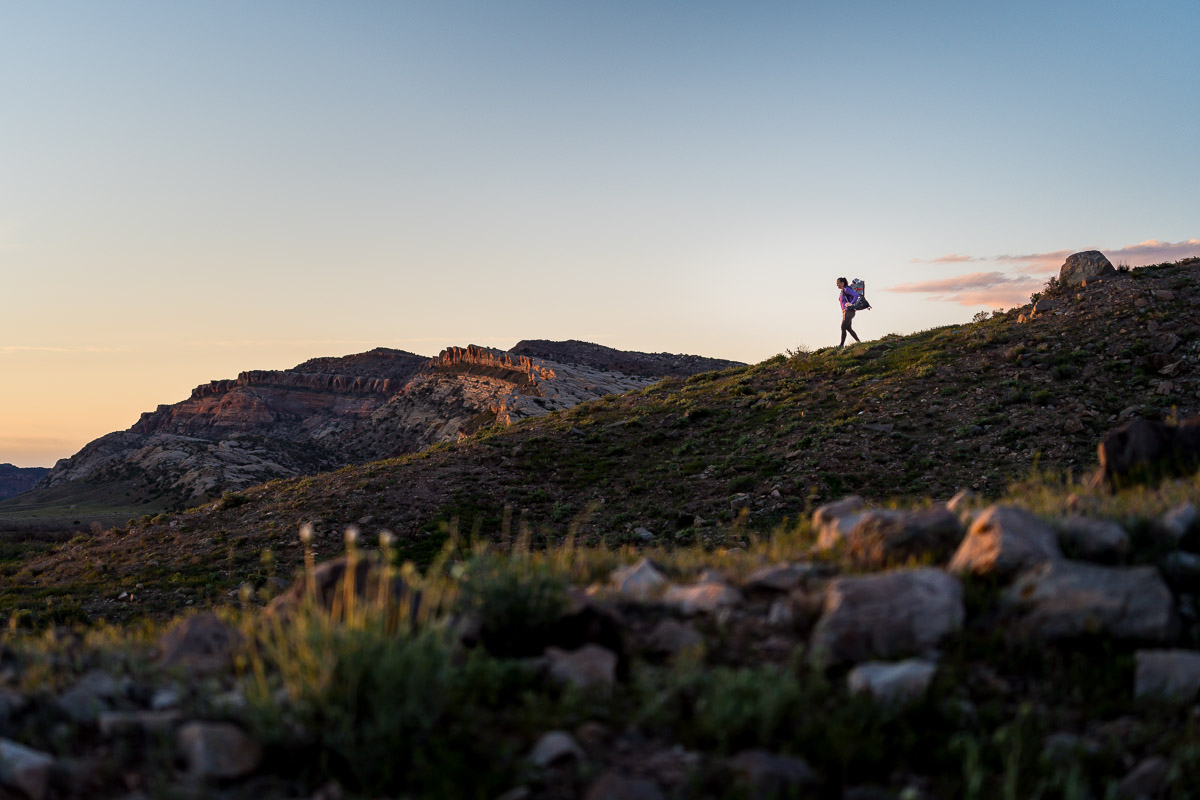
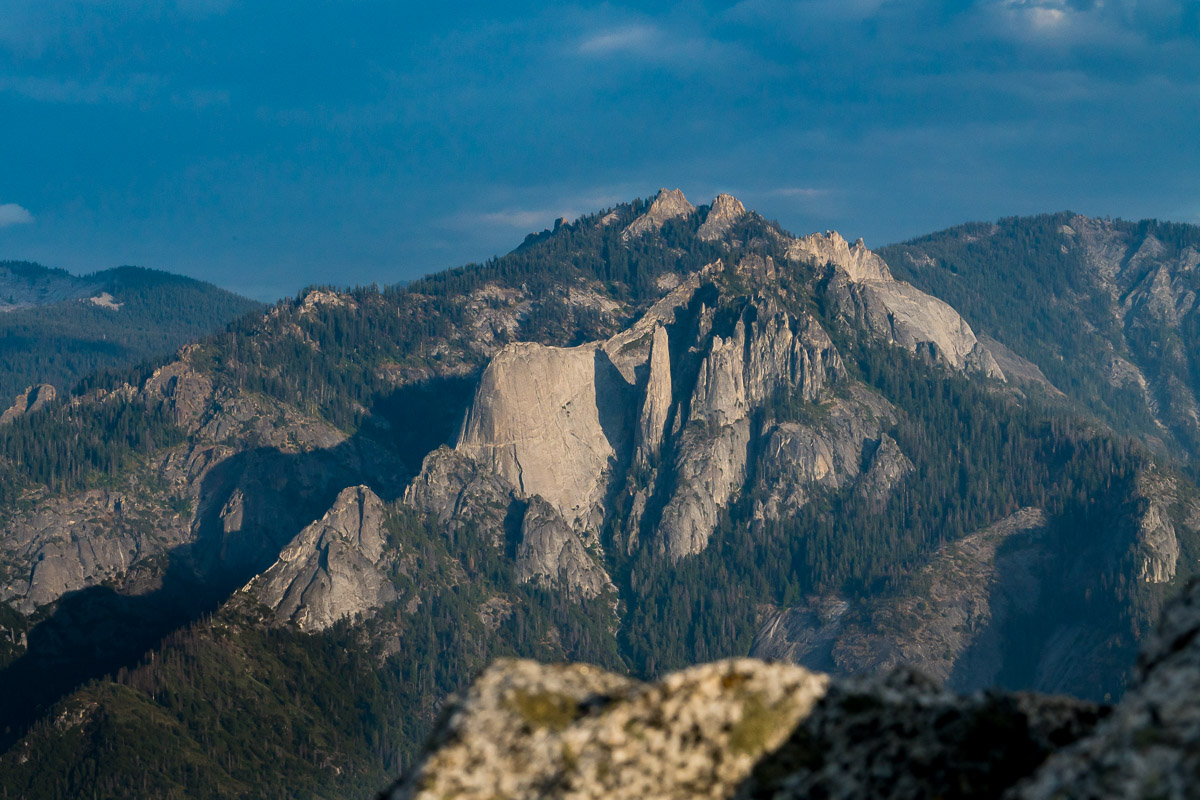
One of my favorite things about the 70-200 mm lens is the compression effect. That’s when the lens compresses the subject to the background allowing the background to look bigger and more impactful. A great example is a person standing in front of a mountain.
You’ll get the best compression at 200mm. Then, you’ll want to choose an aperture that fits your desired effect. You might want the background sharp or you might want it blurred.
Zooming to 200mm will make the background behind the person appear closer than they are (i.e. far off mountains look big compared to subject). Want even more compression, try a super telephoto lens!
Bokeh
Even with the lowest aperture being f4, this lens can create a really beautiful bokeh effect that can create appealing photographs. You might not expect this at f/4 but bokeh is also a factor of the focal length.
The longer the focal length and the more distance between your subject and the background, the more bokeh becomes evident. You’ll notice this more in the 200mm range than in the 70mm range.
If bokeh is important to you, you might want the f/2.8 version instead of the f/4 version since maximum aperture is also a factor is how much bokeh you create.
Lastly, make sure you’re using a full-frame camera if you want the most bokeh. Using a 70-200 on a crop sensor can give you more telephoto reach but a full-frame camera will give you more bokeh. My current favorite in the Sony Alpha system is the Sony A7IV.
Lens Flare
When shooting into the sun, this lens produces beautiful lens flare. It’s fun to play with the sun flare behind your subject especially right at sunset.
I find positioning the sun right at the top center of the frame or just out of the frame to be a pleasing way to achieve this flare.
Other than in this position, the flare of this lens is very well controlled. This leads to excellent image quality even when shooting backlit scenes.
Zoom with Your Feet
Even though you’re using a zoom lens, it’s important to learn to zoom with your feet. Just zooming the lens to change the framing and composition of your photograph is lazy and uninspiring. Move yourself and think through your composition and focal length selection intentionally.
Decide what focal length will create the most interesting photograph. Maybe your image will look better at 70mm instead of the full zoom of 200mm. Be decisive and you’ll create more intentional photographs.
Choose Your Focal Length
You might choose 85mm for a classic portrait. Conversely, you might use 200 to maximize compression.
The 70-200mm focal range is very flexible but it’s important to think through the type of photograph you want to create.
I also love to create multiple images quickly with a zoom lens. I like to use the optical design to create a variety of photographs quickly with different focal lengths available throughout the zoom range.
I’ll grab an image at 70mm then zoom the lens barrel further in while recomposing the image to create something different.
Summary
I hope you enjoyed this review of the Sony 70-200mm f/4 G OSS lens and tips for using your 70-200 telephoto lens. If you have a Sony camera and are looking for a Sony lens to accomplish everything the 70-200 zoom range promises, look no further.
Additional Gear Resources and Photography Tips
If you’re looking to dive deeper into gear that will help you take great photos, the links below might help. You can also check out gear reviews on YouTube.
- and Basic Camera Settings
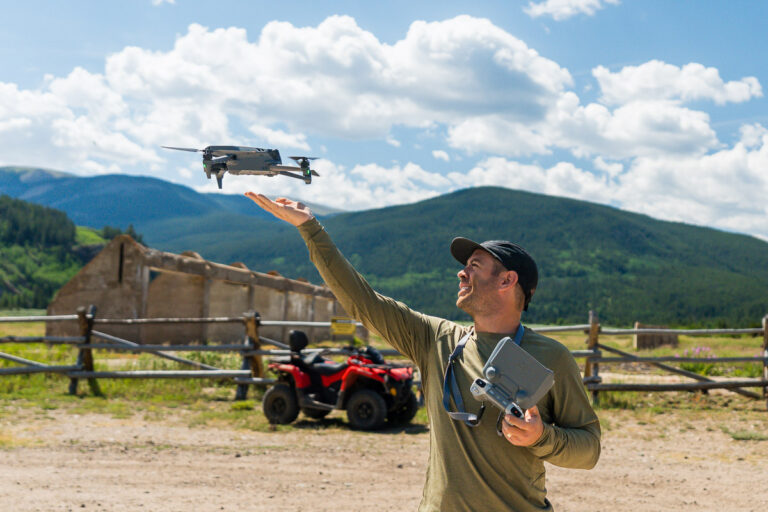
- Drone Accessories
Interested in more content like this? What else do you want to hear about?
About the author
I am Marc Bergreen, one half of a husband and wife photography team specializing in Colorado wedding photography and videography, and adventure photography. If you need advice on the best gear for your goals, reach out. Based in Evergreen Colorado, we travel wherever we’re needed!
Download our free guide on how to build a creative business and a life you love. Don’t hesitate to contact us and let us know how we can help! If we link to a product we love, Amazon links are affiliate links.
In the meantime, remember to…