The Rule of Thirds in Photography (And What’s Next)
Sometimes it’s important to return to the basics of photography tips which is why we’re going to study the rule of thirds photography today. It’s a simple technique to learn, understand, and implement. Practicing the rule of thirds will help us start out with better compositions.
But beware!
As you start to think about using the rule of thirds you’ll initially think that you’re placing your subject somewhere in thirds composition in order to make your photo better. Unless you’re a product or food photographer, we don’t actually control where things are in our photographs. So after we talk about the rule of thirds we’ll talk about what’s next and how to go from a good starting composition to a great photo.
A Warning About Placing Your Subject
As you start to shoot, you’ll realize that with photography you’re not actually placing your subject anywhere. Instead, you have to move yourself and your camera. In other words, don’t just crop the image so that your subject and focal point are in the bottom right third and think you have a better composition.
This is even more true for candids. That’s my warning before getting started.
Don’t just use the rule of thirds after the fact to try to fix a bad composition. Instead, try to start to see the dividing lines and thirds intersections when you’re viewing a scene. Eventually, it will become instinctual.
Composition guidelines can be used to help us understand why a photo works and how to make it better. However, it’s important not to use it as a script that might get in the way of our creativity and originality. It’s better to let composition techniques become a part of the way you see rather than a script you force yourself to follow.
Why the Rule of Thirds is a Great Composition Technique
The rule of thirds is a fantastic composition guideline to use as a starting point for your photos. Typically you place your subject in one-third leaving the remaining two-thirds more open. The empty space, negative space, or white space then helps direct the viewer’s eye to the main subject.
The reason I love the rule of thirds is that you don’t have to waste mental power asking yourself where to put your subject for every single photo. The guideline gives you a starting point for your photography composition. Shift your body around (high, low, near, and far) in order to see how the image is different by adjusting your composition to the rule of thirds.
Eventually, you can also combine what you learn from the rule of thirds with other concepts. For example, if you want to create symmetry you might put your subject in the dead center instead of one of the intersecting points. Or you might have your leading lines point to your subject in the upper third of the thirds grid.
How to Apply the Rule of Thirds in Photography
Below I’ll try to simplify the rule of thirds into an easily digestible process. You might practice by looking at photos you like and overlaying the rule of thirds. Or you might try capturing a few new images. You can also fine-tune images on your computer with the crop-tool but as I mentioned the goal is to start to see and be intentional, not just edit your photos after the fact.
Create a Thirds Grid
The rule of thirds divides your image into thirds both horizontally and vertically with grid lines. The resulting thirds grid created by the grid lines will divide your photo into nine equal parts and there will be four intersection points that result.
Place the Subject in Intersecting Areas
Once you have your thirds grid you can place your main subject in an intersection point. For example, your subject might be where the top horizontal line meets the right vertical line. Most cameras and editing software have options to turn on a rule-of-thirds grid so that you can see more clearly. You can also visualize it in your mind.
When your subject is predominantly located at one-third, that leaves two-thirds more open. That open space allows for the balance or movement of key elements in your image so that the eye is naturally drawn to the subject. This creates visual interest and an engaging photographic experience.
Consider the Why of the Placement
Next, go one step further. It’s not enough to just place the subject in what seems like the right spot. Consider why it’s the right spot, why did you choose the right side versus the left or the top third versus the bottom? How does that interplay with the rest of your composition?
As you play with different compositions you’ll see that the rule of thirds isn’t a hard and fast rule but rather a part of your greater composition.
Applying the Rule of Thirds to Different Types of Photos
As I mentioned in the beginning, food and product photographers can control their subjects in a way that some other photographers can’t. But that doesn’t mean that the rest of us can’t move our bodies closer, further, higher, and lower in order to control the composition. I think that’s the most important part of learning composition techniques, realizing how much control we have.
Photographers don’t just look at a scene and click. Instead, we create and craft and make choices. Using thirds composition helps simplify some of those choices by giving you a starting point of where to place key elements in the frame.
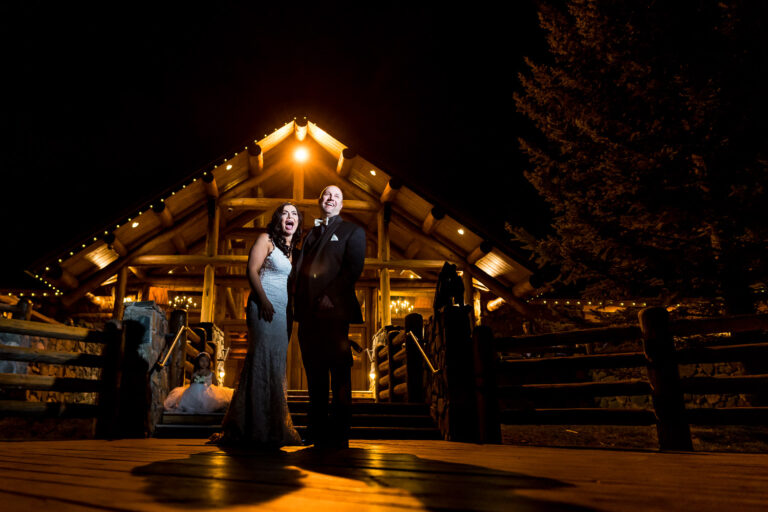
Wildlife Photography and Portrait Photography
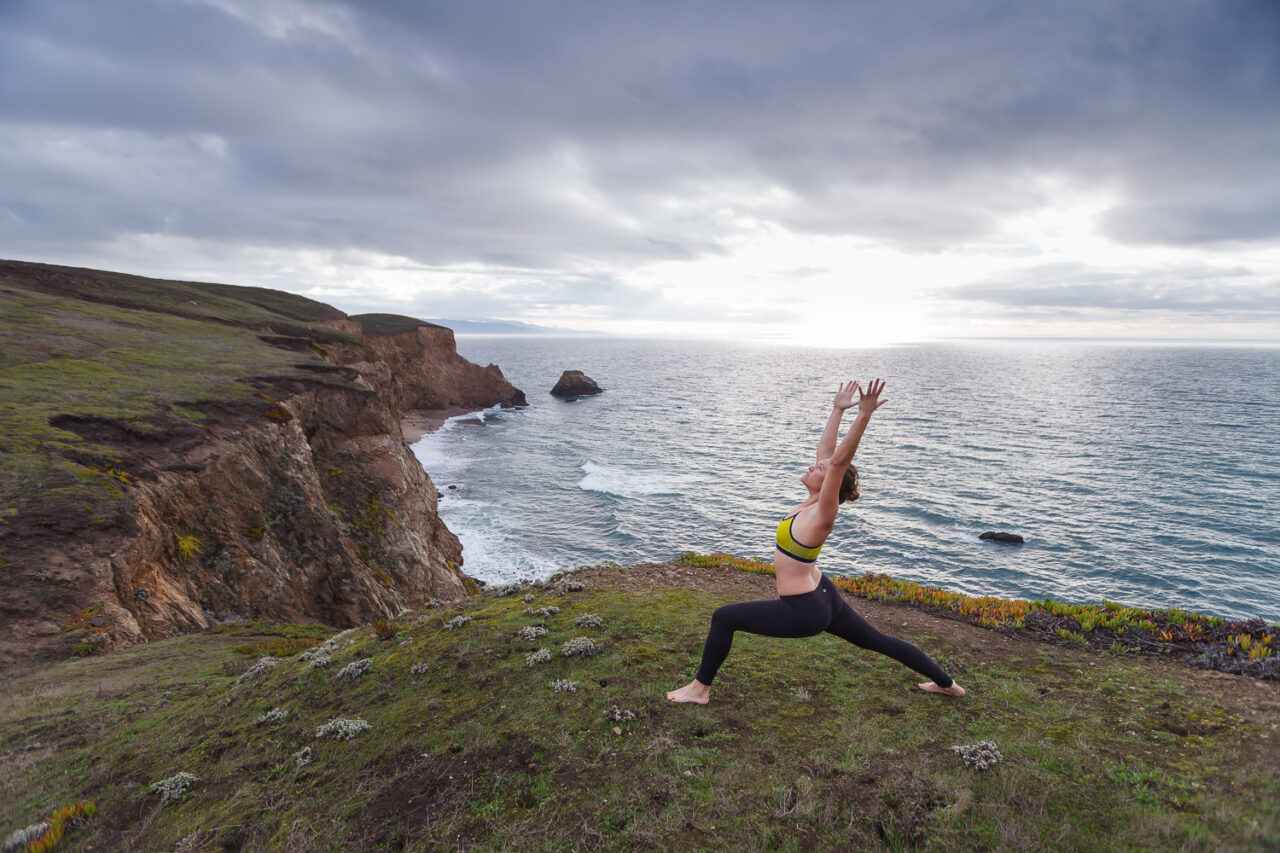
In wildlife and portrait photography you typically have a clear subject for your image. You would place your subject on one of the intersection points of your grid. You can use the rule of thirds to create movement by telling a story of whether they’re coming or going or where they’re looking.
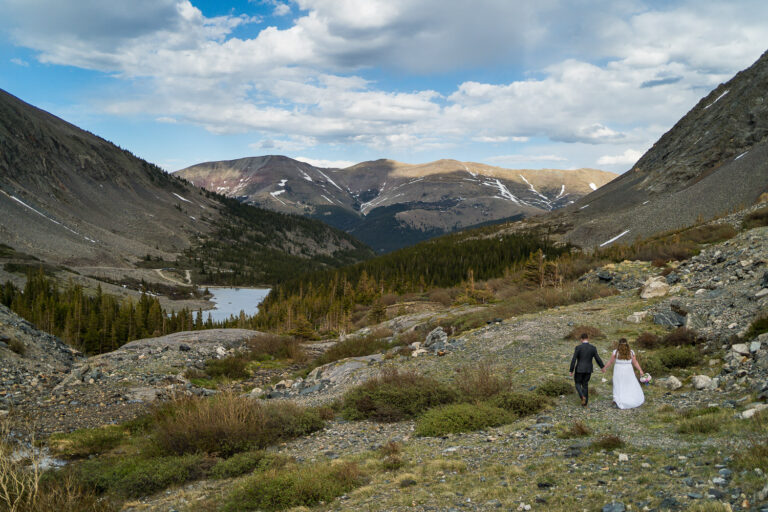
Landscape photography
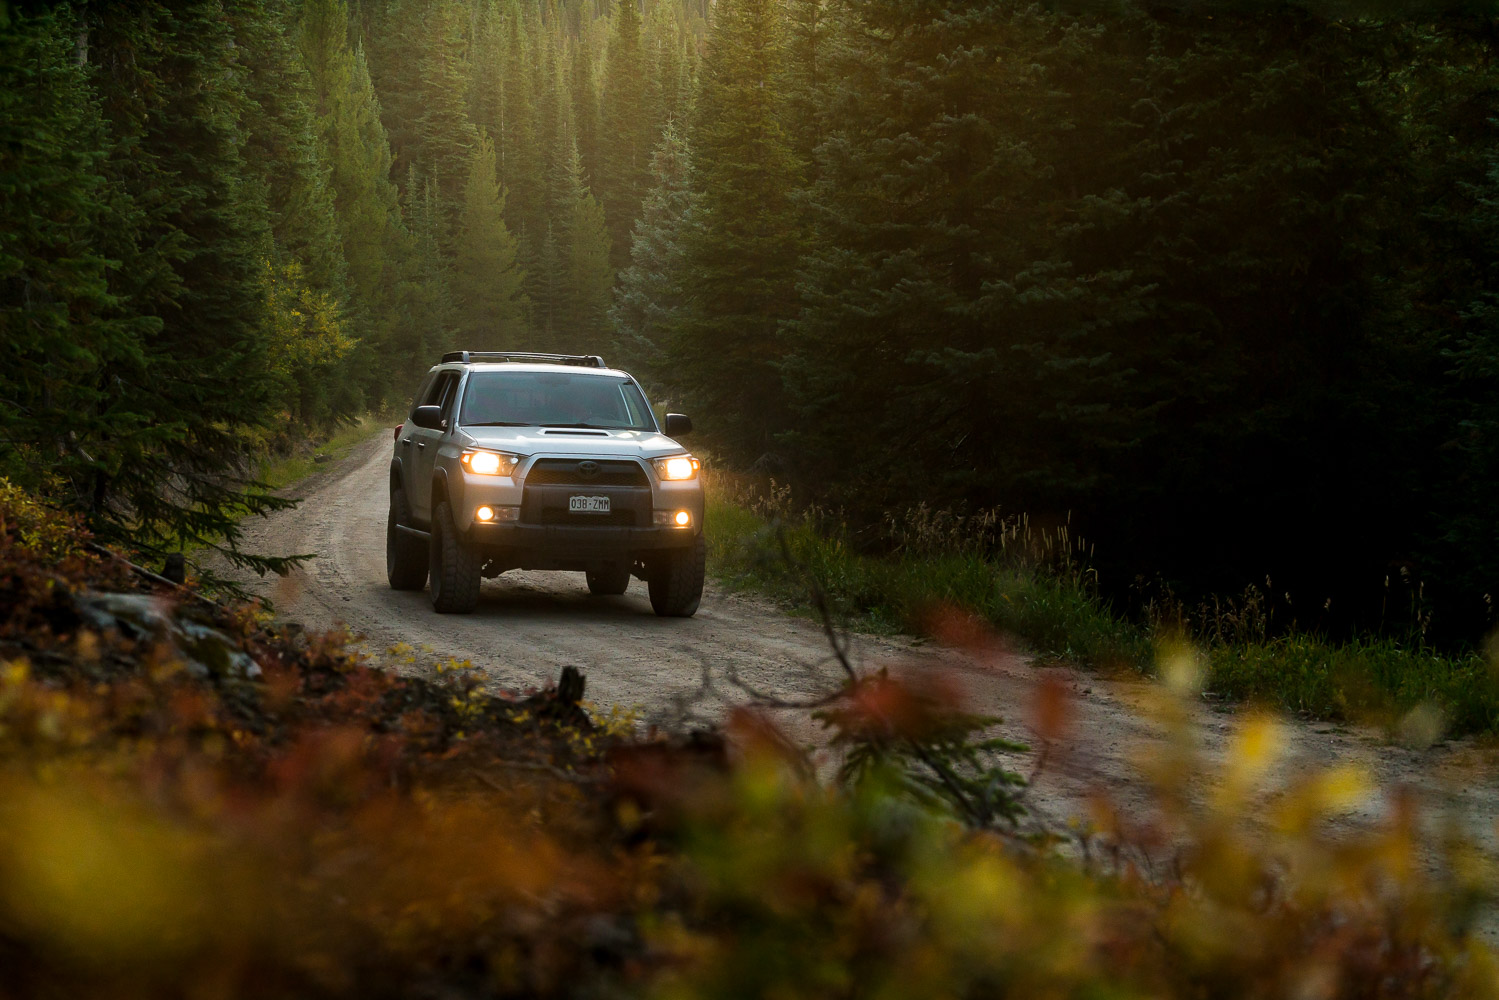
In landscape photography, you might use the rule of thirds to separate the foreground from the background when deciding where to put your horizon line. Typically you want your horizon line on the upper or lower third rather than the middle. But again, you might make a conscious choice to do it differently once you’ve integrated the rule of thirds into the landscape shots the way you see.
In landscape photography, you might not feel like you have a clear subject like in portrait photography. Instead, the mountains might be your subject. The rule of thirds helps you define your subject and be intentional with your choices. If you’re a travel photographer, the rule of thirds will come in handy in many scenarios from photographing landscapes and beyond.
Being Intentional with your Compositions
The problem with the rule of thirds is that it’s too easy, too simple, and doesn’t help you with the final complexity of the photo. Yes, put your subject at one of the intersection points but only if that works with the rest of the story of the image.

The more you look at photography composition the more you’ll start to see that strong photos often are strong for a reason. You can notice strong leading lines or impressive use of foreground. You can make images better by cropping them a little better to follow a composition guideline.
Learning the Rule of Thirds is a great starting point but you have to be willing to go beyond one technique. You have to be willing to integrate the rule of thirds enough that you can consciously choose when to use it and when to ignore it. It needs to become instinct but not a habit.
More educational content:
- Outdoor Wedding Photography Tips
- Wedding Photography Tips for Beginners
- Wedding Photography Gear
- Adventure Photographer Gear
- Photography Portfolio Creation
- Photography Tips for Mountain Landscapes
- Photography Marketing
About the author
I am Brenda Bergreen, one half of a husband and wife photography team specializing in Colorado wedding photography and videography and adventure photography. If you need someone to encourage your creativity, I’m here.
Download our free guide on how to build a creative business and a life you love. Don’t hesitate to contact us and let us know how we can help!
In the meantime, remember to…