Exposure Triangle in Photography | What You Really Need to Know
Let’s talk about what you really need to know about the exposure triangle in photography. I’ll dive deeper into what the exposure triangle is, but I also want to be practical about what’s actually useful. A lot of this information is also made practical in my easy to understand camera settings guide or more specific in the camera settings for wedding photographers.
Those posts also dive deeper into all of your camera settings whereas for now, we’re focusing on the exposure triangle. You might really enjoy my camera settings series on YouTube as well, which I’ll embed where applicable in the post below.
First, I’ll talk through what the exposure triangle is and why it matters. Then, we’ll use that to understand how to use our camera settings, and finally I’ll talk through my favorite gear for exposure triangle success. Let’s roll!
What is Exposure in Photography?
Exposure is the measure of how light or dark your image is. If your image is too light, we call it an overexposed image. If your picture is too dark, we call it an underexposed image. You control the exposure of your photo by controlling the amount of light that you let into your camera.
Three camera settings help you control exposure. These three camera settings make up the exposure triangle. They are aperture, shutter speed, and ISO. The way these three elements interact controls the overall exposure of your image.
The exposure triangle definition is that three dependent variables (aperture, shutter speed, and ISO) together control exposure (light) in photography. If you change one variable it images the others which is why here are dependent. In the next section we’ll talk about the importance of proper exposure.
Why is Correct Exposure Important in Photography?
But why do we care about correct exposure? What’s so bad about an underexposed image or an overexposed image? And isn’t it a little subjective depending on what your goal is regarding the light or darkness of an image?
Proper exposure in photography is about controlling the light. Too much light entering into your camera can overexpose your image meaning that you’ll lose some of the details in the highlights or bright areas of your photograph. Not enough light will make it impossible to pick up enough detail in the shadows or dark areas of your photograph.
While some people might like a brighter image and others like a darker image, a properly exposed image will retain maximum detail within your artistic vision. You should aim to properly expose an image knowing that you can always edit the image in post-production. But if you don’t properly expose your photographs you won’t have the ability to edit them in post-production because you will have blown out (overexposed) or failed to capture (underexposed) the details in the brightest and darkest sections of the image.
What is the Exposure Triangle in Photography?
The exposure triangle in photography is the relationship between three camera settings aperture, shutter speed, and ISO. When you change one, it impacts the others. For example, to obtain proper exposure with a slow shutter speed that lets in a lot of light, you’ll need your other settings to let in less light to balance the exposure so you’ll try a small aperture (low-stop number) and low ISO.
How did that example sit with you? Let’s dive into the camera settings so that we can clarify it. Hopefully by the next section you’ll be on your way to choosing camera settings.
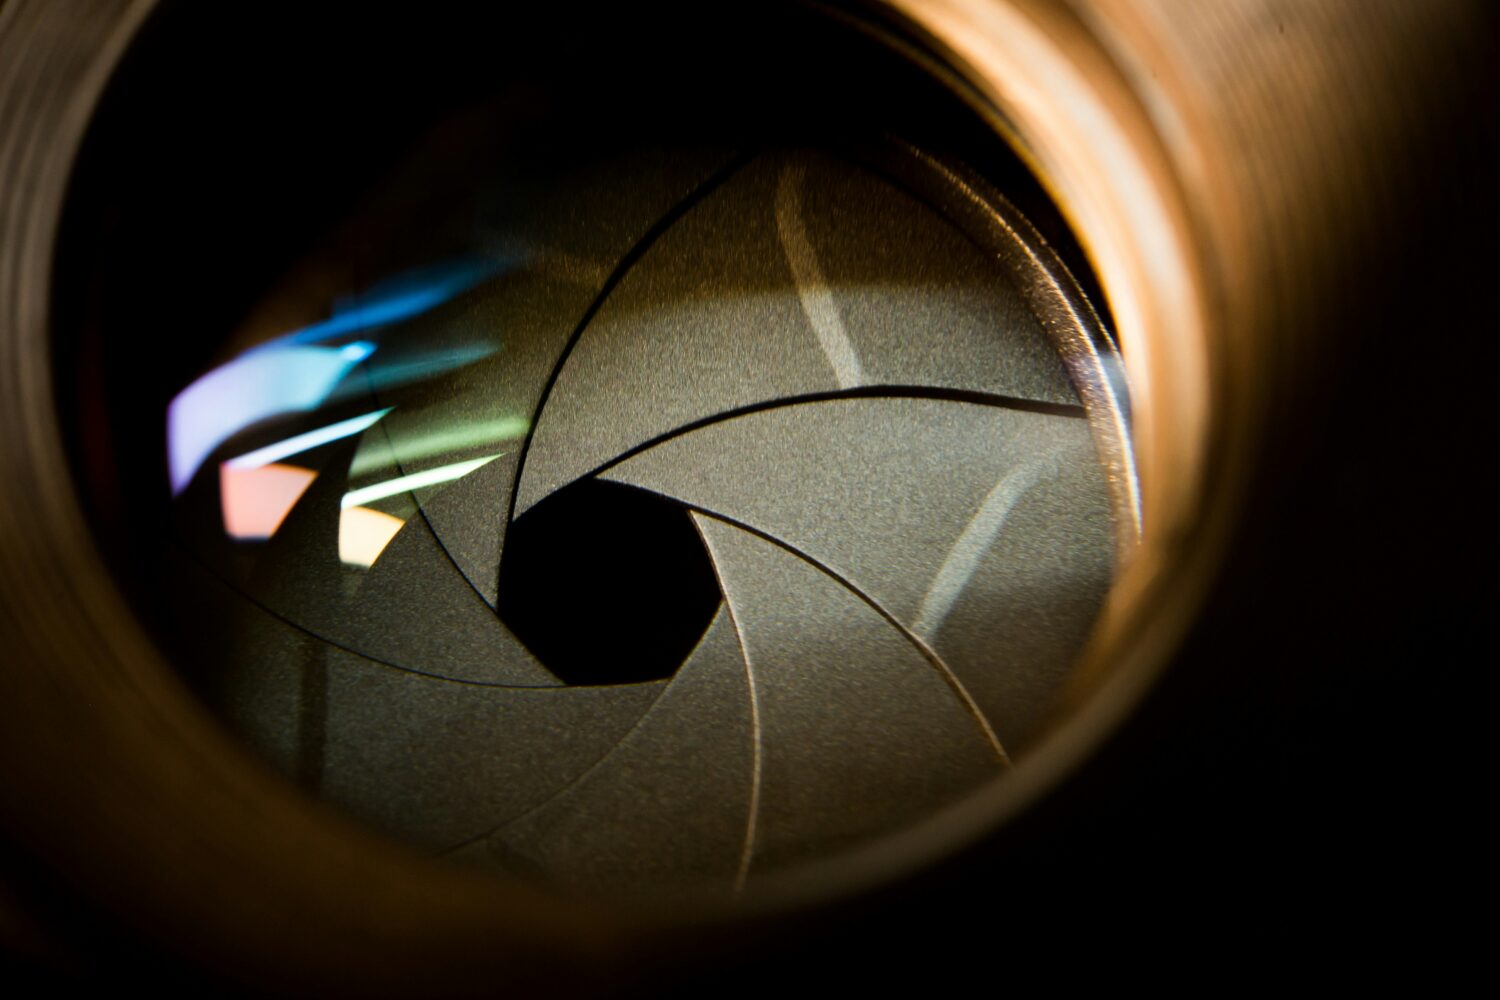
Aperture
Aperture is the size of the hole or lens opening that allows light to come into your camera. A wide aperture will let in a lot of light where a smaller aperture will let in less light. One thing to be aware of is that a wider aperture has a high f-stop number such as f8 where a smaller aperture has a low f-stop number such as f1.8.
Low f-stop numbers aka wide apertures are famous for getting that shallow depth of field that creates a beautiful bokeh effect. But in addition to shallow depth, low apertures are also crucial if you’re shooting in a low light setting because you need to be able to balance aperture with your other camera settings. It’s tempting for beginning photographers to simply shoot in aperture priority and at their widest aperture (lowest f-stop) possible.
This allows them to always let in maximum light from aperture ensuring that their shutter speed will never get too slow or ISO too high. Many professionals think it’s better to understand how aperture works and then choose an aperture setting intentionally. While it’s a crucial part of the exposure triangle and important for lighting, it’s also a creative tool for things like that shallow depth of field.
Shutter Speed
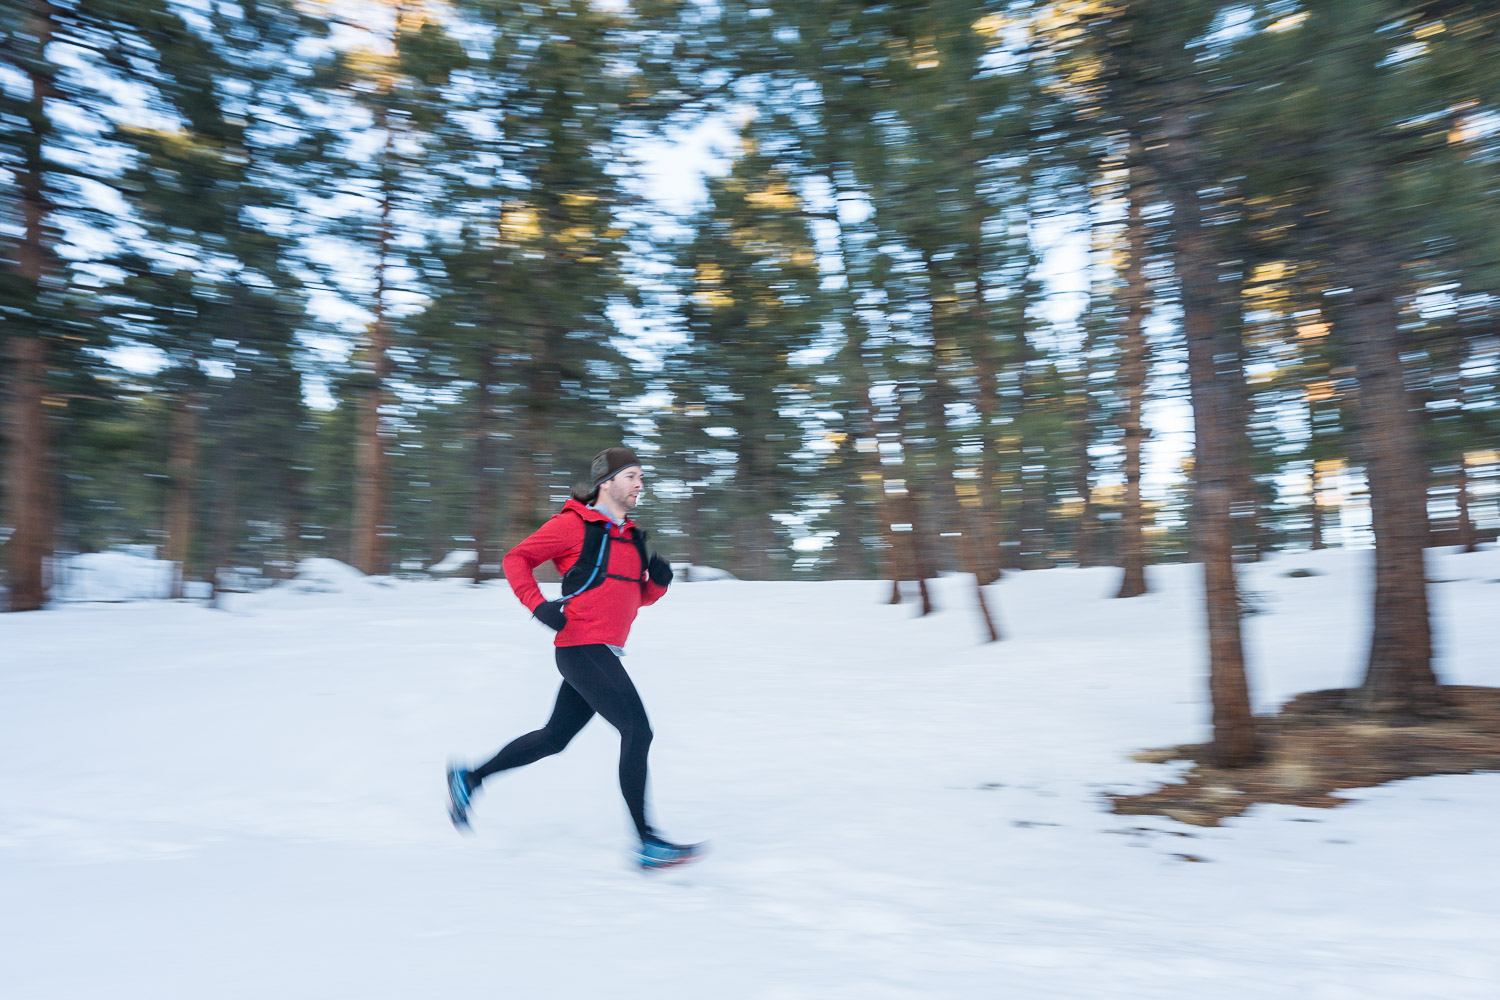
Shutter speed refers to how fast the camera’s shutter clicks. A faster shutter speed lets in less light whereas a slower shutter speed lets in less light. That sounds like a slow shutter speed would be a good thing for letting in light, but with a slower shutter speed comes camera shake and motion blur.
Motion blur is a blurriness that can be seen when a camera captures motion because of a slower shutter speed. Many photographers use a fast shutter speed to avoid motion blur unless they are intentionally trying to capture movement. As an alternative to using a fast shutter speed, you could use a tripod which would ensure only moving aspects of the image are blurred which is a technique often used in photographing waterfalls.
Again, it can be tempting to want to use shutter priority and ensure you’re using a faster shutter speed at all times to avoid or achieve motion blur. But again, a thorough understanding of the exposure triangle will help you choose your settings with intention.
ISO
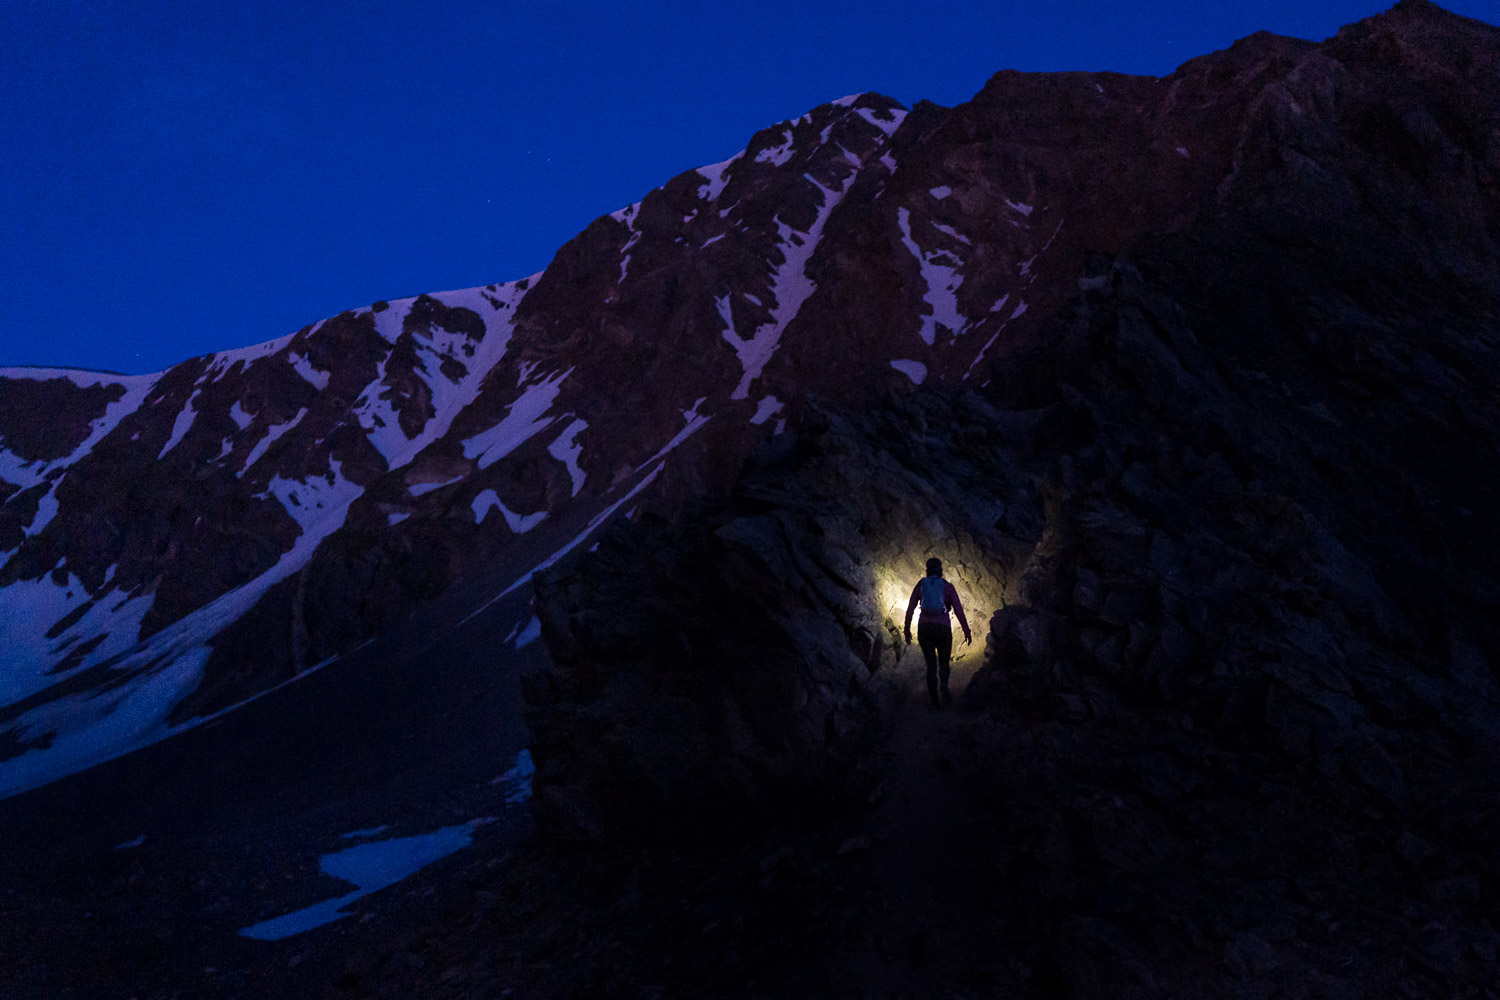
Finally, ISO is the last of the three settings in the exposure triangle. ISO refers to the sensitivity of the camera sensor to light. In film it refers to the sensitivity of the type of film used but digital ISO refers to the camera’s sensitivity.
Lower ISO is less sensitive, meaning it lets in less light whereas higher ISO is more sensitive. It sounds like high ISO would be a good thing but actually there is a cost that comes with that extra sensitivity. Higher ISO leads to grainy image results.
A lower iso will produce sharper images with less grain but it has its limitations in low light conditions. It’s important to know the ISO capabilities of your specific camera so that you know how far you can push your ISO without compromising image quality. If you need to lower your ISO you’ll need a wider aperture or slower shutter speed.
How to Choose Camera Settings
When it comes to choosing camera settings using the exposure triangle, it helps to decide which setting will dictate your decision. Will it be aperture shutter speed or ISO? Now, how do we answer that question?
Well, if you’re in a tricky lighting situation, you’re going to use your best camera settings for a tricky lighting situation. If you’re getting creative with motion blur, sun stars, or something else, then you’ll use your camera setting based on that.
Below I’ll run through a few examples based on the best settings for different circumstances.
Best Shutter Speed
The best shutter speed is the one that lets in enough light while not causing any unintentional motion blur or camera shake. Unless you want a long exposure to capture motion such as photographing a waterfall, you’ll probably want to shoot at 1/200 or greater. Or 1/the focal length you’re shooting at.
If you have a steady hand or you brace yourself you can sometimes shoot at lower shutter speeds but depending on how fast the action around you is moving you risk motion blur.
Best Aperture
The best aperture is the lowest one your camera allows because it will let in maximum light allowing you to shoot at higher shutter speeds and lower ISOs. That is, of course, unless you don’t want the shallow depth of field or bokeh effect. You might want a higher aperture for a wider depth of field such as taking a group picture and wanting everyone to be sharp.
Best ISO
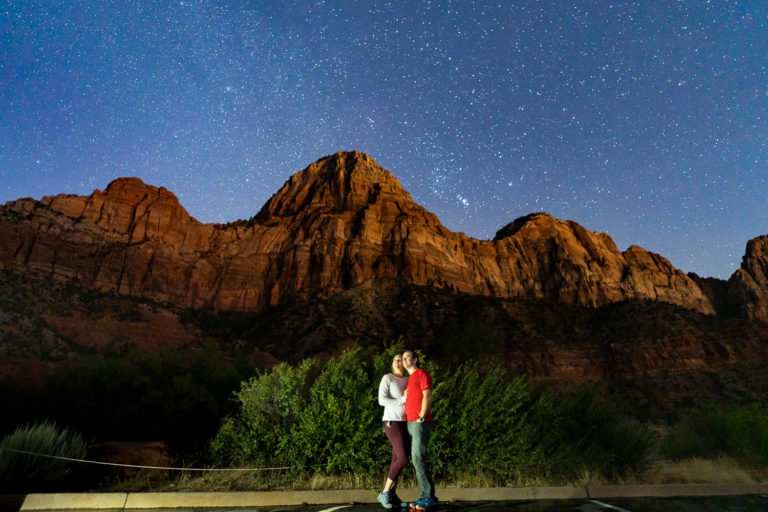
The best ISO is the lowest ISO that you can use given the restrictions of your conditions. Outside on a well-lit day you might shoot at ISO 100 all day. However, indoors you might need to raise your ISO to balance your exposure or risk having a too slow shutter speed.
Again, know the ISO capabilities of your camera. Some cameras allow you to get away with shooting at high ISO which lets you shoot in lower light conditions than ever before.
Best Camera Settings
This last video puts it all together for you to help you choose the best settings based on all these factors. It’s tailored to wedding photography but useful for any genre.
Camera Gear for Exposure Triangle Success
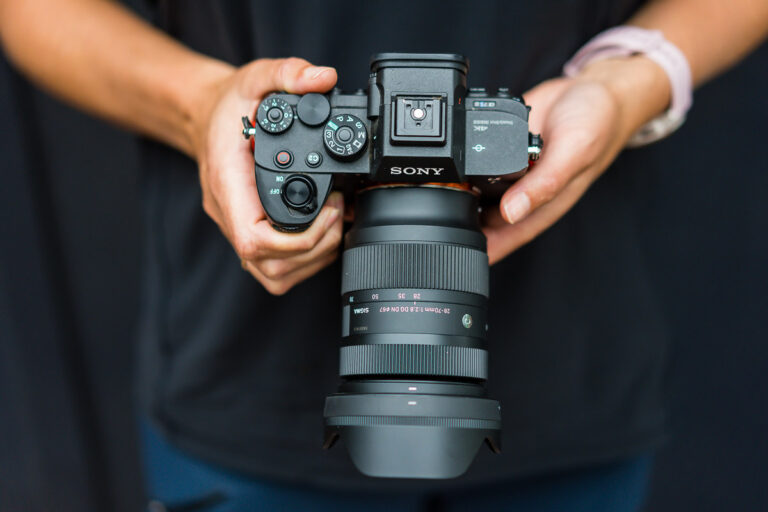
Let’s talk about how your gear impacts your exposure triangle success. It’s easier to capture more light with better gear. That means both your camera body and your camera lens.
Having low-aperture lenses is crucial for being able to shoot in low-light conditions. It can be hard to balance quality and price but I always recommend getting the fastest lens you can afford as long as it’s not too heavy to actually bring with you. Maybe skip the f/1.2 lenses!
Having a camera sensor with high ISO capabilities is also a win.
Cameras, Gear, and Lenses We Recommend
Below is a list of some gear I recommend that will help make capturing light easier. I choose my favorite cameras based features such as high ISO capabilities, fast focus mode, and dynamic range. My favorite lenses are low-aperture lenses that are lightweight and affordable as well as my top choices for accessories.
Camera Body: Sony A7IV
Lenses:
Flash System
Backpack: Shimoda Action X30
I hope you found this post helpful! You might love travel photography gear list or these marketing tips. (Check out our ND filter guide.) If there is anything you’re struggling with leave a comment below and we will do our best to help whether it is a specific camera setting or what camera to buy! Next check out our 9 Best Tips for Outdoor Wedding Photographers. Links to products are affiliate links.
About the author
I am Brenda Bergreen, one half of a Evergreen husband and wife photography team specializing in Colorado wedding photography and videography and adventure photography. If you need wedding photography tips or advice on the best gear for your goals, reach out.
Download our free guide on how to build a creative business and a life you love. Don’t hesitate to contact us and let us know how we can help!
In the meantime, remember to…