Travel Photography Gear List and Tips
We’ve been traveling with cameras for over a decade and this has led to a variety of opinions on travel photography gear. We want to help you find the perfect camera but also learn some tips that will make your journey more enjoyable!
Let’s embark on your photography journey by learning some travel photography tips as well as suggestions for building your gear list. I’ve broken this post into two sections to talk about travel photography gear as well as some tips to make your photography better. Travel photography is about the journey, the only way to get to your destination is one step at a time.
Part 1: My Travel Photography Gear Guide
Part 2: Tips for Capturing Great Travel Photos
My Travel Photography Gear Guide
Below is a travel photography gear guide to help you decide which camera gear you’re bringing with you.
Designing your kit
Best cameras
Best Lenses
Essential Accessories
Best Drone
Travel with Camera Gear
Buying Tips
My Minimalist Gear List
Designing a Photography Kit For Travel
When designing your travel photography kit, you’ll need to make a couple of decisions. Will you go minimalist and only have one lightweight lens for travel photography or will you try to bring more camera equipment into your bag? Photography equipment should make your creative process easier, not more difficult.
The right camera lens won’t make you a photographer but the right camera lens might just help you get out of your own way. As you design your photography equipment list, be sure to find things that will help you instead of hinder you.
Your kit should be portable, affordable, and durable. You don’t want to worry about camera equipment breaking while you’re thousands of miles from home. You also don’t want to be bogged down by so much gear that the camera strap feels like it’s strangling you.
My best travel images are made when I feel nimble. Most travel photographers will tell you to keep things light and simple.
The Best Cameras for Travel

When it comes to camera bodies, there are a few considerations to keep in mind. I like my camera bodies to be lightweight and compact but also very durable. For these reasons, I love the Sony mirrorless cameras.
Sony has some of the smallest and most feature-rich camera designs on the market today.
You don’t want to sacrifice image quality for a compact camera and luckily you don’t have to because camera gear is getting more powerful and more packable.
The Sony A7C is ultra-compact and still has excellent image quality. If you want a little more control and don’t my a little more bulk:
The Sony A7IV is fully featured with more dials and custom buttons that some travel photographers are going to appreciate. It is also a solid hybrid photo and video camera that won’t break the bank like the much more expensive:
The Sony A1 is the top of the pyramid of mirrorless cameras. If you want the highest quality, definitely check this camera out. Most travel photographers have some concerns about their equipment being stolen. If you bring the Sony A1, definitely get some insurance!
You might consider a backup camera body in case anything happens to your camera. While it can be a pain to carry two camera bodies, it’s more of a pain to not have a plan if your camera fails. Great backups include:
This is an APS-C sensor camera meaning it is smaller than the full frame bodies above but it still has excellent image quality. It also crops in on your lenses so you get a little extra telephoto reach for distant subjects. Lastly, it is the most compact camera on this list so it won’t weigh you down.
If you’re looking for even more budget-friendly cameras, I highly recommend checking out some of the older generations of the above cameras on the used market. I listed some great options below:
Sony a6000 – excellent used camera body for around $300-$400
Sony A7 – the original camera in the series is around $400-$500
Sony A7II – a slightly newer generation for around $600-$800
Sony A7III – awesome features (and the bigger battery) for around $1300
All of the above cameras will be compatible with all the Sony lenses. If you decide to upgrade your camera body later, you can keep your camera lenses!
Best Lenses for Travel Photography
After you choose your camera body, it’s time to decide which camera lens you’ll take with you on your travels. This will come down to the focal length you want to shoot, how much room you have in your camera bag and your budget.
When it comes to focal lengths I’m a big fan of a nice wide-angle lens because it’s versatile. However, I also appreciate a solid telephoto lens for creating compression in my images. You might have a favorite focal length or you might need to do some research such as comparing the 35mm and 50mm focal lengths.
Multiple Lenses Vs One Lens for Travel Photography
Some people want one versatile lens for travel photography, they want to keep it simple. While that sounds ideal, I am a big fan of being able to create diversity in my images. If everything is shot with a 35mm wide-angle lens, all my photos will start to look the same. Sure you can zoom with your feet but the images will all have the same perspective.
That’s why I like some focal length variety. This means either a zoom lens with a broad focal range or more preferably multiple lightweight prime lenses that cover the spectrum.
My favorite wide-angle zoom lens: Sony 16-35mm f/2.8 GM
My favorite telephoto zoom lens: Sony 70-200mm f/4 G
My favorite mid-range zoom lens: Sony 24-70mm f/2.8 GMII
My favorite lightweight prime lenses:
My favorite budget lenses:
Lenses to avoid:
Sony 24-70 f/4 – this lens has poor image quality and there are better options at similar prices
Sony 50mm f/1.8 – feels very plastic and cheap – spend a little more and get something better
It really comes down to how you like to shoot photos. If you’re in a fast-paced environment where you don’t want to swap lenses, opt for a zoom lens. If you’re traveling more slowly and want to take the time to frame up your images and enjoy the experience, get a prime lens kit.
Travel camera gear is meant to help you enjoy the experience. Pick a camera kit that feels good in your hands. Something that you are excited to pick up and you like the design. Many people have been drawn to high-end cameras such as Leica because the designs are so ascetically pleasing.
Aside from your main camera body and camera kit, you’ll need a few accessories to create beautiful images.
Essential Camera Accessories for Travel Photographers
My Lightweight Camera Tripod
One thing you might need is a lightweight travel tripod. If you plan to shoot long exposure photos such as astrophotography or capturing a waterfall, you’ll want to be able to prevent camera shake. I sometimes use this super lightweight/compact tripod option if I’m going to a remote destination. Landscape photography benefits from a tripod because it slows you down and forces you to focus on your composition.
Camera Bags For Travel Photography
Having a good camera bag will help make transporting your travel photography gear more practical. Your camera bag needs to fit all of your photography gear including things like snacks and water. Your camera bag will also likely serve as your carry-on for the airplane, you want to always have your photography gear with you. A good quality camera backpack will keep your gear protected yet accessible and be comfortable to carry.
Several of my favorite camera backpacks:
Shimoda Action X30 – great for hiking, traveling, and adventuring
Shimoda Explore 30 v2 – Great for travel and organization
Alex Strohl Mountain Light by Moment – Great for hiking and small camera kits
Mountainsmith Shoulder Bag – Great bag for simple and versatile camera carry
- Camera Cube for Mountainsmight Bag – Get this to put inside your shoulder bag
Portable Power Bank
Sometimes when you’re traveling you’ll have access to electricity, but regardless you want to make sure you have all your chargers and a source of power. This is where a portable power bank comes in. I’ve become familiar with the tools from Goal Zero because they are rugged and reliable but this has become a crowded market so find one that works for you. Nothing is worse than a dead battery during an epic sunset!
Camera Filters for Travel
Filters are one of those simple items that can seem like a hassle but when used correctly, they will level up your images. Polarizing lens filters are one of my favorites to cut glare and add vibrance to your images. Most other lens filters can be mimicked in post-production. The only other filter you might consider is an ND filter if you like to shoot long exposures.
Best Drone For Aerial Travel Photography
This could be a whole article in itself! A drone is one of the most fun cameras to bring with you while traveling because it opens up a whole new dimension of imagery. There are a lot of drones on the but I tend to stick with DJI because I think they have the best user interface. They also offer drones at almost any price point!
Best all-around drone: DJI Mavic 3 Pro
Best mid-size drone: DJI Mavic Air 2S
Best compact drone: DJI Mini 3 Pro
Best Entry-level drone: DJI Mini 3
Drones are so much fun to work with and although the image quality isn’t quite up to that of a full-frame camera, the perspective they offer is incredible. They can also capture some amazing video with intelligent flight modes that work well for solo travelers looking to document their own experience. Check out drone accessories here.
Buying Photography Equipment For Travel: Considerations
If you already have camera gear, start with what you have and work on making better photos based on the information in the next section. However, if you’re looking to buy new camera gear you’re going to want to set a budget. From there you might consider shopping used gear when possible.
Some people worry about buying used gear but I’ve been doing it for years and had great experience so far. You could shop eBay for the best deals or a used camera market like MPB or KEH. If the gear looks decent on the outside, odds are it’s going to perform well for years to come.
Traveling with Photo Equipment
When you plan to travel for photography you have to figure out how to get all this gear to wherever you’re going. Professional photographers have even more gear than the hobby photographer but either way, here are some tips for traveling with your gear.
Keep your gear list minimal and essential
Keep everything you need in a camera backpack that you keep with you
Have a plan for backing up your memory cards periodically
Always keep a copy of your images on your person while traveling (don’t count on the car as a safe place to store things)
Insure all your equipment – check your policy for exemptions in certain destinations
Minimalist Travel Photography Gear List
One reliable, durable, dual card slot camera body (our pick)
One telephoto zoom lens (our pick)
One wide-angle zoom lens (our pick)
One mid-range fast prime (our pick)
A durable camera backpack (our pick)
Polarizing filters (our pick)
Backup camera body (our pick)
Durable Memory cards (our pick)
Tips for Capturing Great Travel Photos
In this section, we’re going to talk about how to take good travel photos. Digital photography has encouraged people to take way too many pictures that never get looked at again. If you’re going to document your travel experiences, make sure you do it with intention. Follow through on the process. Cull and edit your photos after your trip and don’t just dump thousands of photos on a hard drive to never be reviewed again.
Travel Photography Tips for Beginners
Define Your Travel Photography Goals
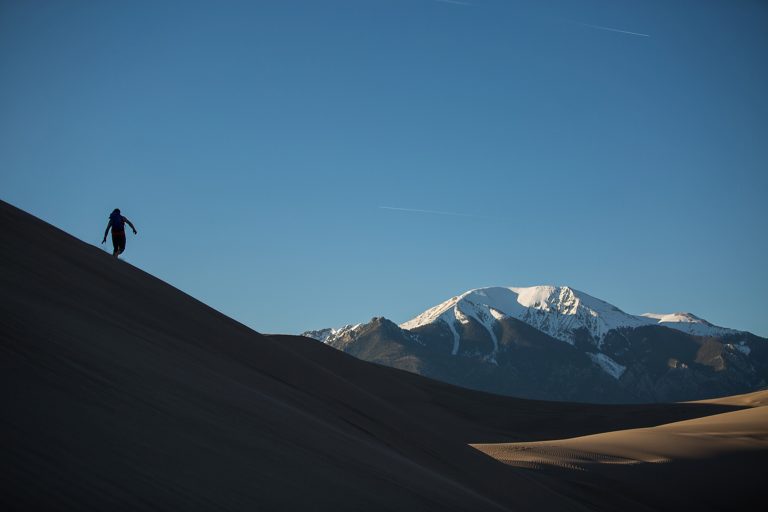
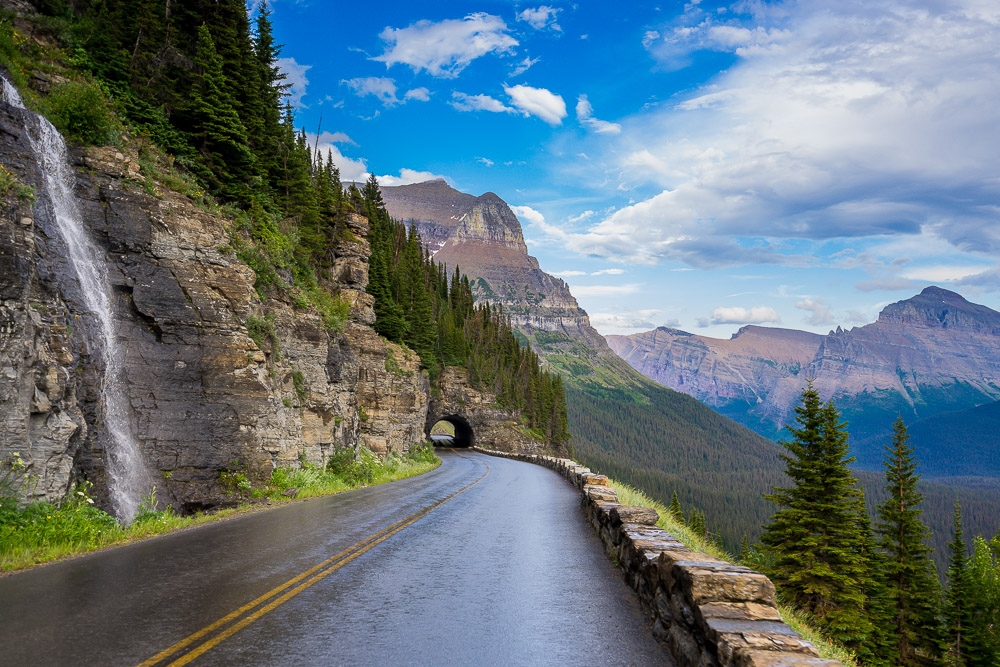
As a travel photographer, what type of photography will you be shooting? That means asking the question, what is travel photography? Travel photography encompasses telling a story of a place including the landscape, the people, the experience, and the culture.
You might be interested in wildlife photography, adventure photography, street photography, aerial photography, night photography, travel photojournalism, or just capturing your family. Defining your goals will help you determine your gear budget and the photography skills you need to learn.
Are you just bringing an action camera on your family ski trip to document the fun or are you taking super-telephoto lenses on an African safari? These are very different goals so make sure you have a vision for the experience you want to have.
Make a List of Skills to Learn
You’ll want to figure out where you are in terms of photography skills. If you’re just starting out, there is going to be a lot to learn. However, if you’re applying photography skills you have from a different niche, you can simply see what skills you’re missing and focus on those.
Learning how to nail those landscape shots or tell a story with your travel photography will be a process, an adventure. Take it one step at a time. Learn one new skill at a time.
Lighting, Composition, and Photography Skills for Travel Photography

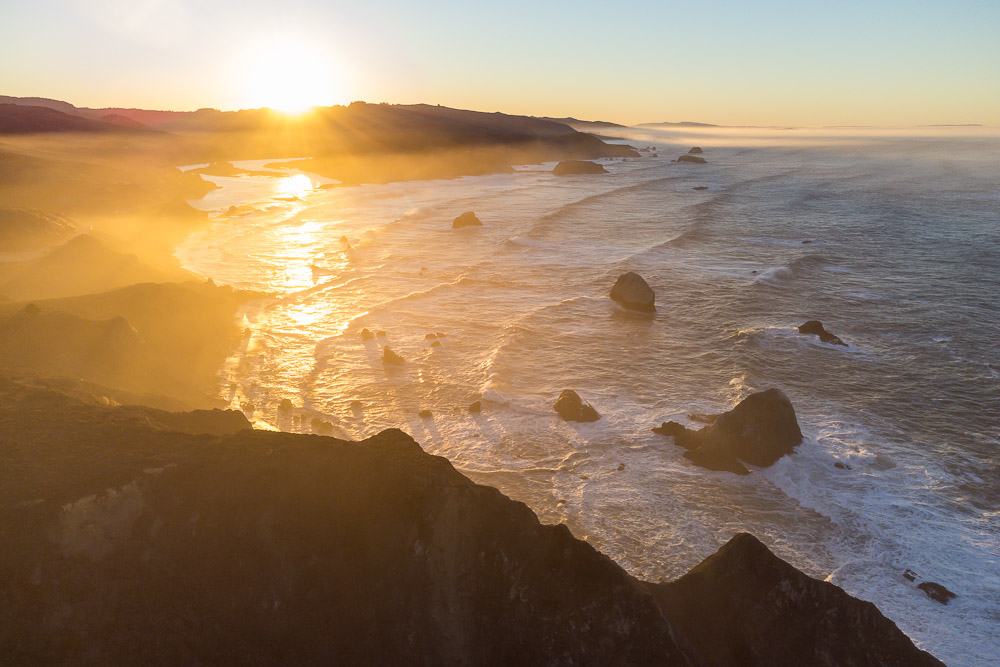
You’ll discover quickly that understanding things like light and composition can give your travel photography a boost. The hour just after sunrise and the hour just before sunset is known as the “golden hour” and offers beautifully soft light. A little preparation will go a long way as I’ll talk about in the next section.
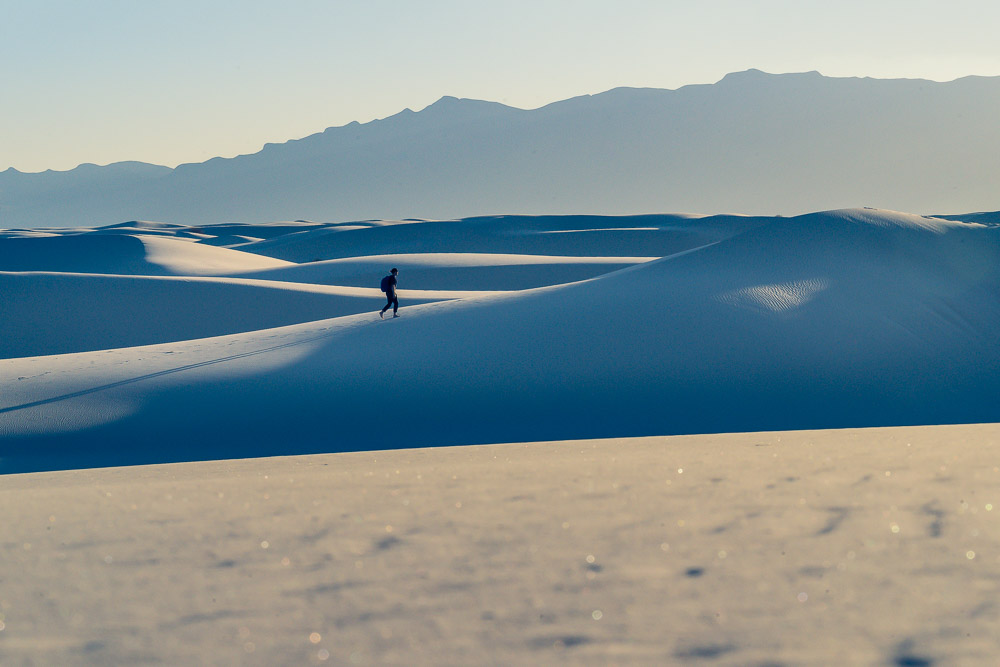
Don’t just take photos from eye level. Look for unique perspectives, such as shooting from a high vantage point or getting down low to the ground. The rule of thirds is a basic photography composition technique that involves dividing the frame into thirds vertically and horizontally and placing the subject at one of the intersections. This creates a more dynamic composition.
Lastly, shooting in RAW format gives you more control over your images in post-processing. RAW files contain more data than JPEGs, allowing you to adjust exposure, white balance, and other settings without sacrificing image quality. Don’t just shoot the photos, edit them too in order to take them to the next level.
Showing ten beautiful pictures from your trip will be so much more gratifying than having thousands of images on a hard drive. One thing that can help is having a goal in mind prior to the trip. I.e. making a book or slideshow to share when you return home. Shooting with a goal will also help you create better images. You’ll be excited to shoot images that fit into the story or goal of the project.
Planning and Research Before You Travel
As I mentioned above, you’ll want to plan for the best locations and time of day to capture your images. Often this means planning around beautiful light or if you’re interested in wildlife photography it’s important to know when the animals are most active.
When you’re traveling, it’s important to pack light, and this applies to your camera gear too which we talked about in length. Bring only the essentials, such as your camera body, a versatile lens, and a lightweight tripod if you plan on shooting in low light.
As I mentioned in the photography gear guide, you want to make sure your camera bag is always with you and that means that it can be a carry-on for your flight or that it’s waterproof if you’re in the rain. Research any information about your destination to help you decide what you need in your camera bag and what you can leave behind.
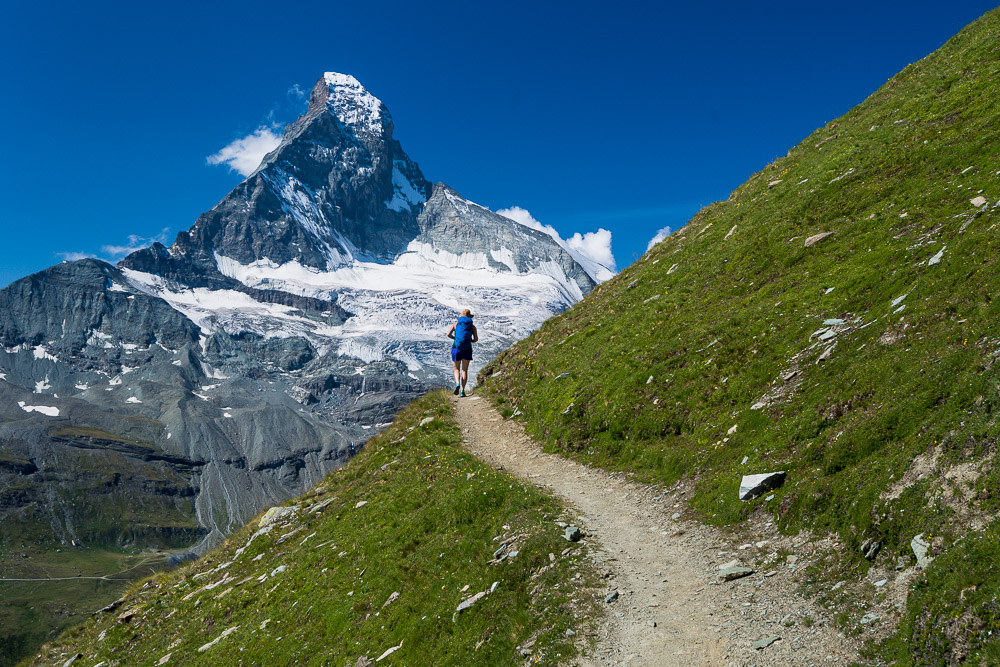
Landscape photography is about being in the right place at the right time. You can’t do that if you’re lugging a huge bag full of camera lenses. Photo quality doesn’t matter if your bag is too heavy to make it to the best spot! The best strategy to move fast is to generally shoot one lens that matches the vision of your shot and leave the other photo gear in the car.
Stay Flexible
As much as I encourage pre-planning for images, many of my best travel photos are spontaneous. Sure, it’s important to put yourself in the right place at the right time, but make sure you leave yourself open to the experiences that come. Having the best compact camera and telephoto lens is a great start but putting in the work of research/planning is key. Once you do all that, it’s important to stay flexible so you can be open to the image that naturally presents itself.
There are so many examples of chance encounters while traveling that lined up. I had my travel photography gear and was able to capture something truly unexpected. Things are not always going to line up or play out the way you expect so be ready and willing to adapt.
Stay Inspired (and off Instagram)
This may be one of the simplest and hardest tips in this article. Sitting at home wondering how to be a travel photographer while browsing pretty pictures on Instagram is a surefire recipe for disappointment. Many people see the highlight reel that is social media expecting their travels to look exactly like that. The reality of airports, long flights, and the confusion of far-off places is a lot less glamorous. It can be so easy to idealize a place only to realize it is overcrowded when you get there. Photos can be misleading and create so many expectations that often won’t be met.
My advice is to seek inspiration from sources outside social media. Apps like Instagram can be an echo chamber of the same destinations over and over. Don’t allow yourself to be let down by creating expectations of what your trip will be like. The benefit of the internet is that you can find information about just about any destination. The downside is you can mentally take the trip by watching social media video content of people there right now. Get creative about your destination and be open to having your own unique experience. Realize that you’re going to have your own experience and don’t let that be restricted by taking the trip virtually before physically.
Enjoy the Experience
Similar to what I mentioned above, make sure you enjoy the experience. Travel photos can be so much more meaningful if you are fully engaged in the experience. You will be able to translate your feelings about the trip so much better if you are immersed in the experience. This tip can feel a bit vague but I think it comes down to letting go of expectations and making an effort to be fully present. It can also help to connect with some local people to ensure you are experiencing the best of the destination. Skip the tourist photography spots and find a way to experience the destination in a new way.
Always take your Camera
This may sound simple but if you want to get the best photos, you have to have your camera with you. It can be easy to think that you’ll leave the camera in the car while you have dinner. This is a missed opportunity. Make sure you have the ability to bring your camera gear with you on every part of the experience so that you never miss a moment. I learned early on that having your camera with you all the time will allow you to capture the unexpected moments that unfold when you least expect them.
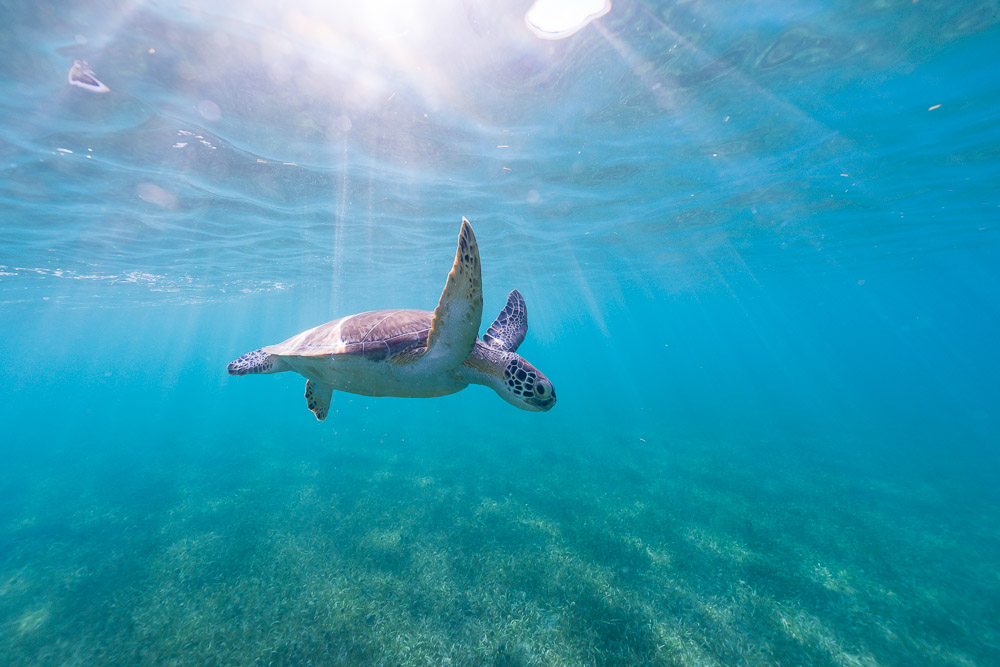
An example of this is when I would sometimes leave my water housing behind while swimming in the ocean this past winter. We had traveled to Puerto Rico and I knew I wanted to bring a housing for my camera but it was often a little bulky to take to the beach every time we swam. Luckily, I also brought an action camera. Somehow it seems that the sea life knew when I had my GoPro cameras instead of my higher-quality water housing. We saw some amazing sea life but I was able to capture those moments I would have missed because I always had a camera with me.
Summary
I hope this article helped you decide what photography equipment should earn a place in your camera bag as well as what skills you need to know as a travel photographer. Whether you’re interested in being a professional travel photographer or planning a trip with your family, you can scale your equipment and your expectations accordingly. I can’t wait to hear your travel photography ideas and where the journey takes you!
Additional Gear Resources and Photography Tips
If you’re looking to dive deeper into gear that will help you take great photos, the links below might help. You can also check out gear reviews on YouTube.
- Adventure photography blog
- Photography Tips for Mountain Landscapes
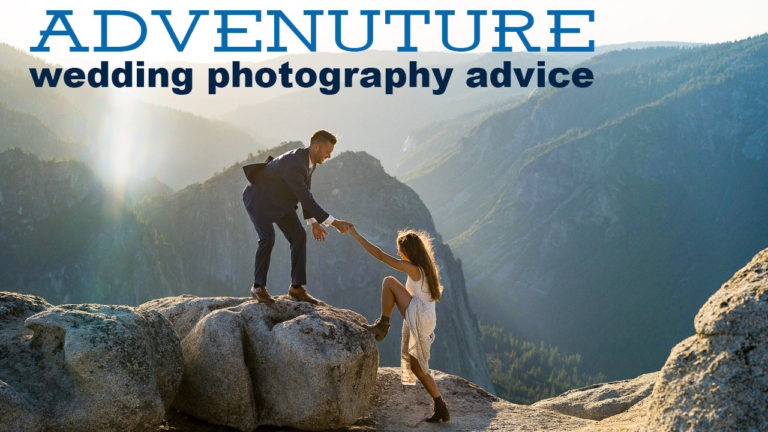
- Tips for Outdoor Wedding Photographers
- Tips for photographers
- Photography Portfolio Creation
- Travel Photography Gear
- Wedding Settings Guide
- Wedding Photography Tips for Beginners
- 35mm vs 55mm Lenses
- Minimalist Wedding Photography Gear
- What is the Rule of Thirds
- Wedding Photography Pricing Guide
- Easy Camera Settings
- Interested in more content like this? What else do you want to hear about?
About the authors
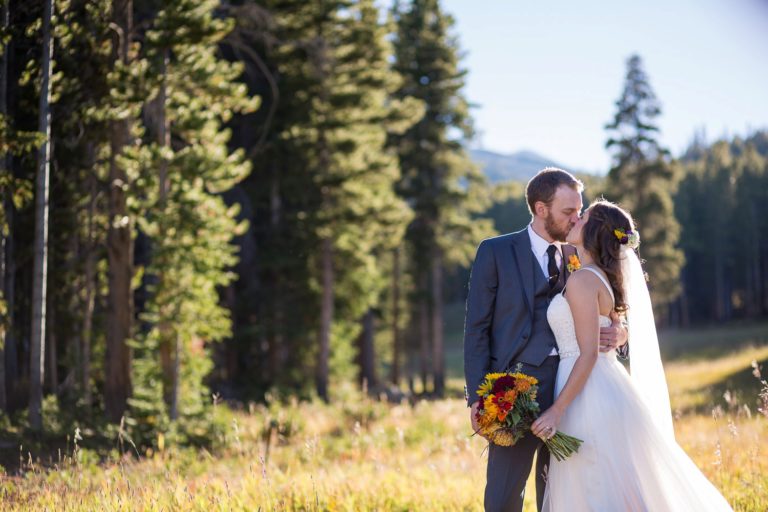
We are Marc and Brenda Bergreen, a husband and wife photography team specializing in Colorado wedding photography and videography, and adventure photography. If you need advice on the best gear for your goals, reach out. Based in Evergreen Colorado, we travel wherever we’re needed!
Download our free guide on how to build a creative business and a life you love. Don’t hesitate to contact us and let us know how we can help!
In the meantime, remember to…